Friday, May 27, 2011

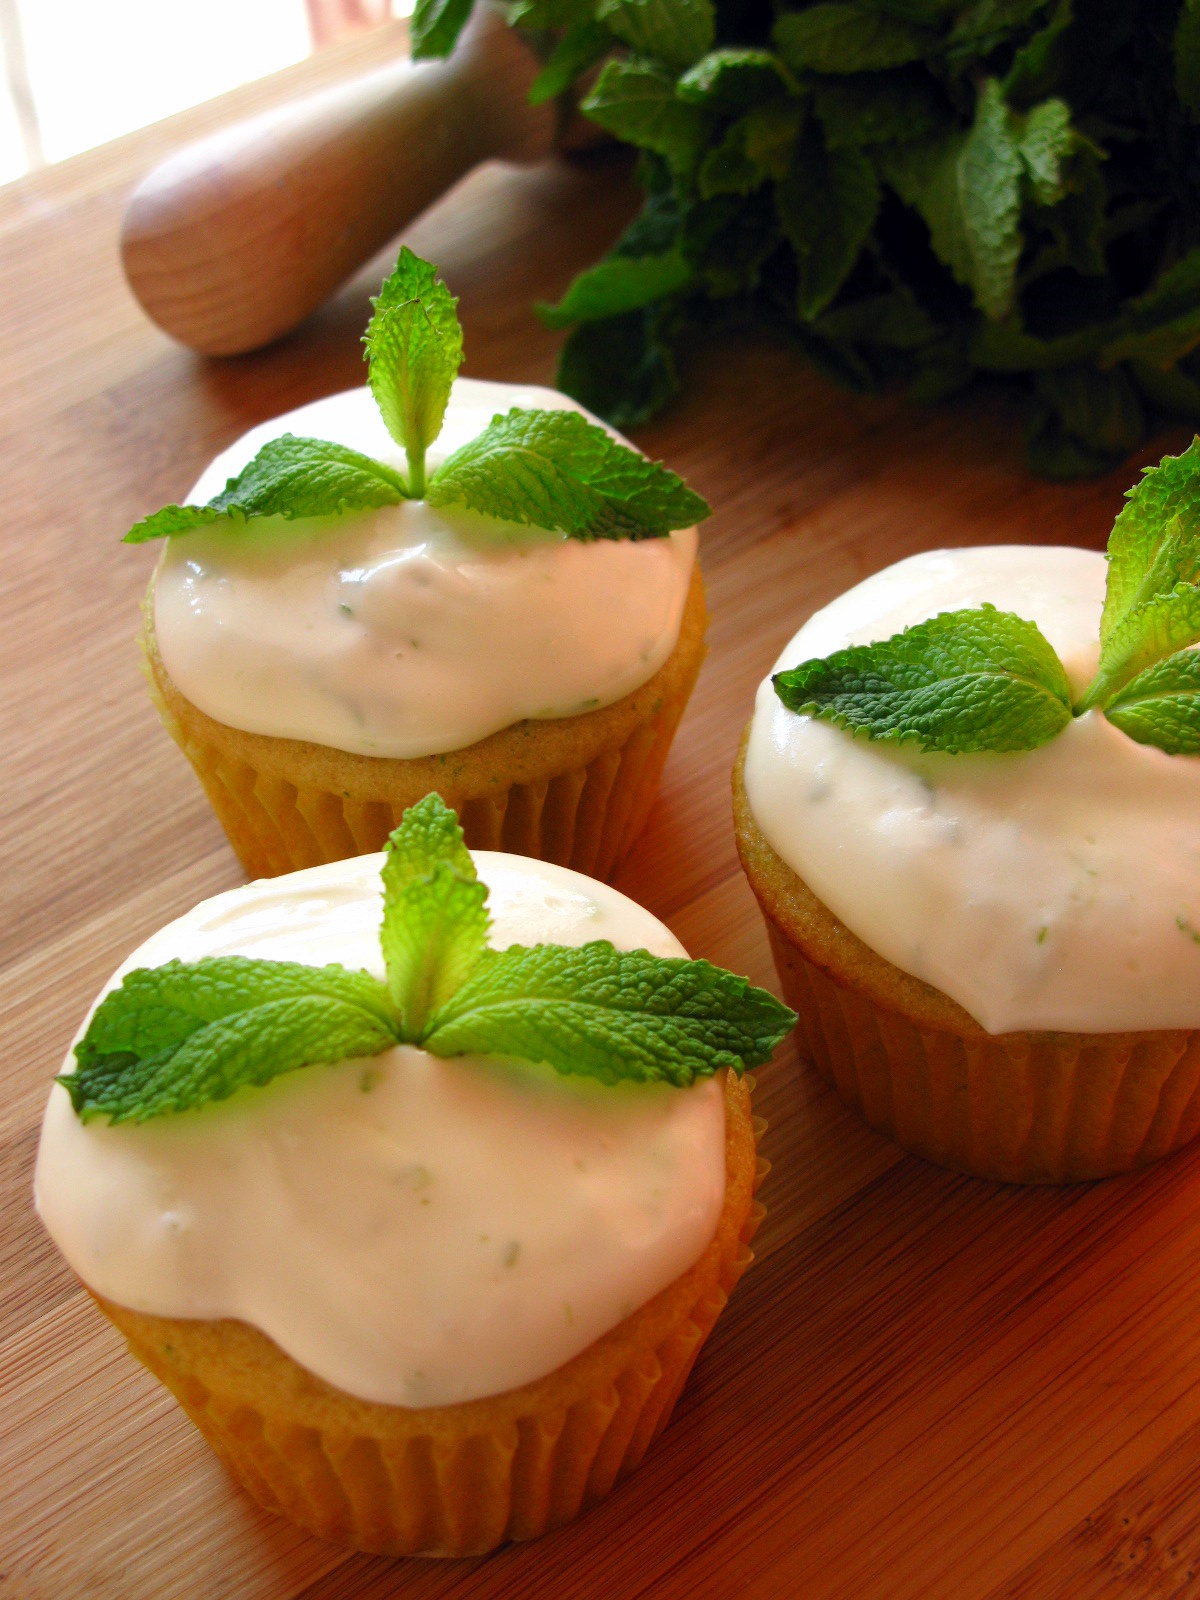
Almost-Mojito Cupcakes

Who doesn't love the fresh tasting combination of mint and limes? Well, certainly not me, which is why it was no surprise that the mojito would become one of my favorite cocktails as well as the inspiration for my next cupcake.


Unfortunately, I couldn't really taste the rum in the cake or the frosting, which is why I'm calling these Almost-Mojito CupcakesBut the overall product still came out mighty tasty, if I do say so myself. Plus, I have some leftover cream cheese frosting now that I will probably turn into a mini lime cheesecake within the next few days. Yum.


The Ingredients (makes 1 dozen):
For the cupcakes:
-1 cup milk
-1 cup mint leaves, roughly chopped
-the juice and zest of one lime
-3/4 cup sugar
-5 tsp dark rum
-1 1/4 cups all purpose flour
-3/4 tsp baking powder
-1/2 tsp baking soda
-1/2 tsp salt
-1/3 cup vegetable oil
For the frosting:
-8 oz cream cheese, softened
-1 cup powdered sugar or to taste, sifted
-5 tsp dark rum
-2 tsp lime juice
-1/2 the zest of one lime
-limes and mint to garnish (optional)


The Directions:
1. Heat up the milk and mint until hot but not boiling. Take it off the heat and allow to steep for about 15 minutes.
2. Strain the leaves out of the milk, making sure to push on the mint to extract as much oil as possible. Set aside and allow to cool.
3. Preheat oven to 350 degrees Fahrenheit and line your cupcake pan.
4. Whisk lime juice into the milk and set aside for a few minutes to curdle.
5. In your mixing bowl, combine sugar and lime zest and muddle together to infuse the oils into the sugar.
6. In a separate bowl, sift together the flour, baking powder, soda and salt.
7. Add the milk, vegetable oil and rum to the lime sugar and mix thoroughly.
8. Add the dry ingredients to the wet in increments, mixing until just combined and scraping the bowl between each addition. Fill cupcake liners and bake for about 15-20 minutes, or until a toothpick in the center comes out clean. Rotate pan about halfway through to ensure even baking. Allow to cool completely before frosting.
9. Cream the cream cheese and sugar until smooth.
10. Beat in the rum and lime juice until well combined. Mix in the zest until it appears even throughout the frosting. Refrigerate if not using it in less than an hour.
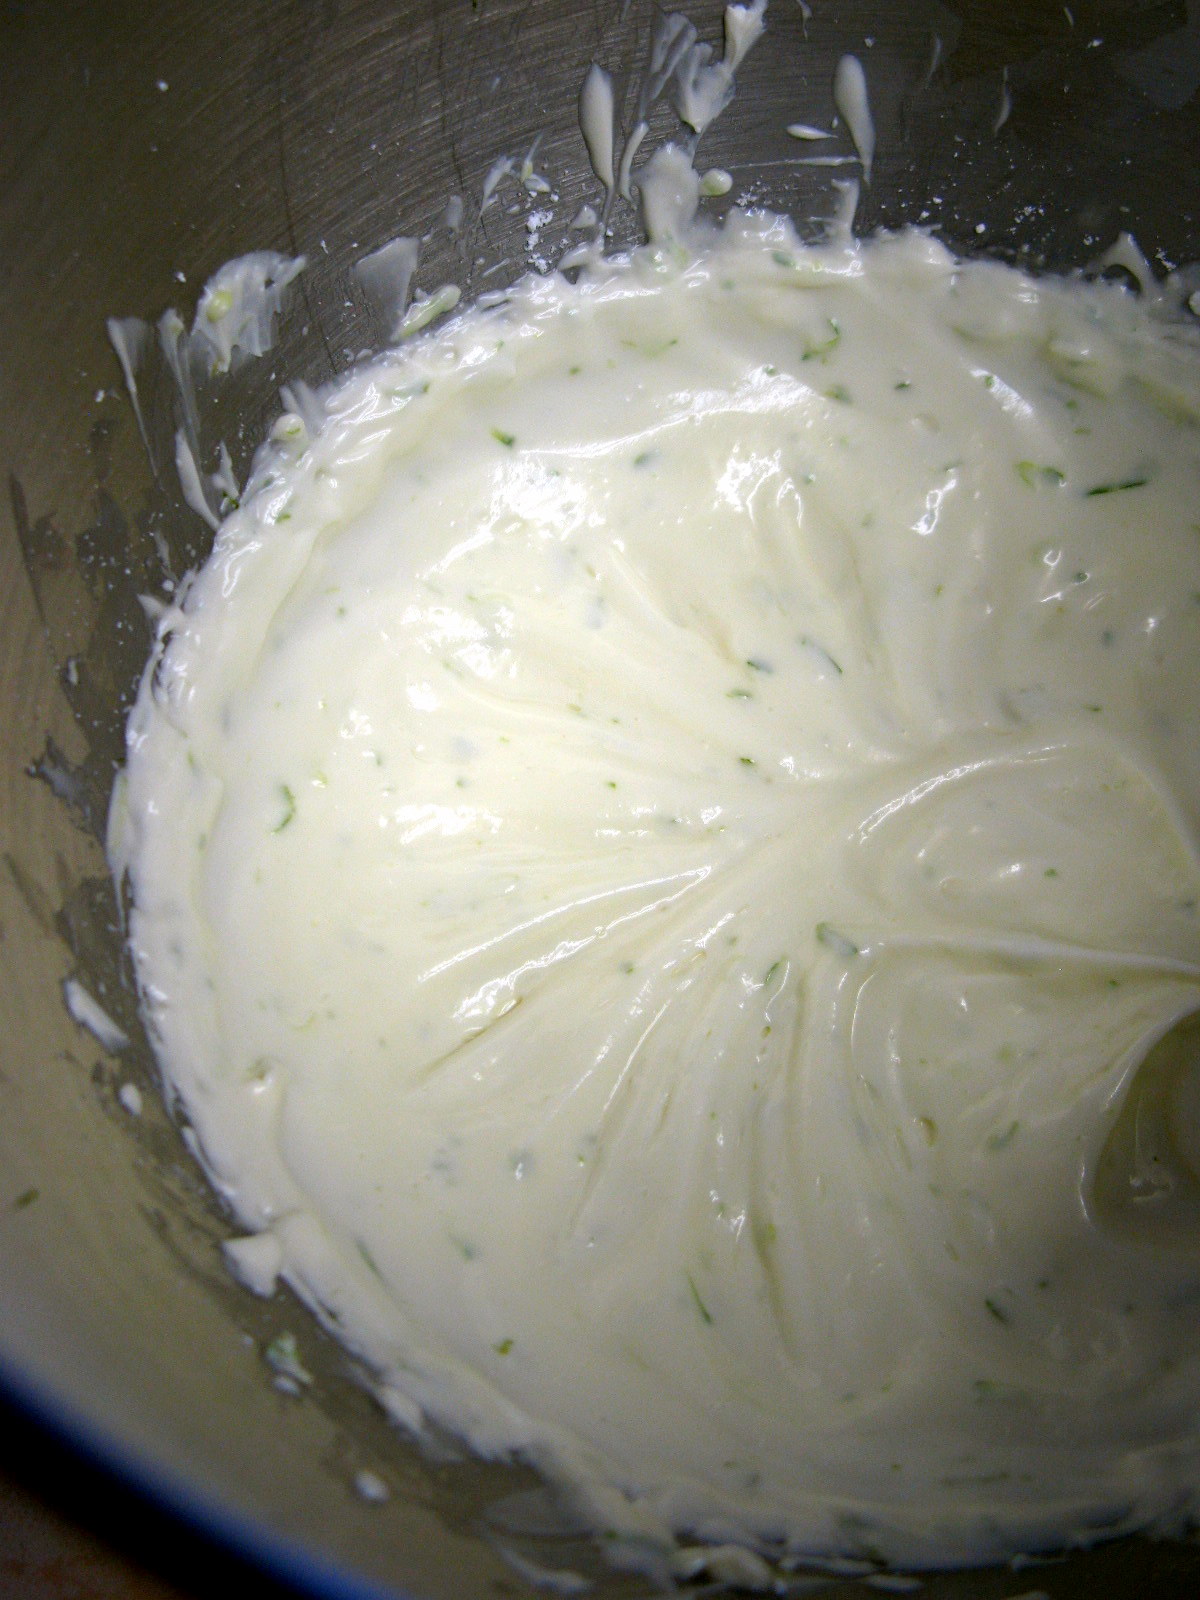
11. Frost the cupcakes and garnish as you please.
12. Consume and enjoy!

Monday, May 9, 2011

May's Cupcake Of The Month: Strawberries And Cream

It's May! 'Tis the season for spring dresses, sunny days and blooming flowers. And did I mention it's also National Strawberries Month?


These are fluffy vanilla cupcakes filled with a homemade jam-like strawberry filling and frosted with airy whipped cream that has just the right amount of sweetness to compliment the already-sweet strawberries. What's not to love?
The Ingredients (makes 2 dozen):
For the cupcakes:
-1 1/2 cups butter, softened
-1 1/2 cups granulated sugar
-2 eggs
-3 cups flour
-2 tsp baking powder
-1 tsp baking soda
-3 tsp vanilla extract
-4 tbsp milk
For the filling:
-1 cup strawberries, mashed
-1 tbsp sugar
-1/2 tsp lemon juice
For the frosting:
-1 cup heavy cream
-2 tbsp powdered sugar, or to taste
-1/2 tsp vanilla extract

The Directions:
1. Preheat the oven to 350 degrees Fahrenheit. Line your muffin pan with cupcake papers.
2. Whisk together flour, baking powder, soda, and salt in a large bowl and set aside.
3. In your mixing bowl, cream the butter and sugar until light and fluffy. Then add eggs one at a time..

4. Add the vanilla extract and then 1/3 of the dry ingredients, then 2 tbsp of milk, then continue to alternate between the dry ingredients and the milk until both are used up.
5. Once the batter is smooth, fill cupcake papers about 1/2 to 2/3 full and bake for 15 to 20 minutes or until a toothpick comes out clean, rotating the pan halfway through to ensure even baking. Allow to cool completely before cutting out the centers.
6. Combine the mashed strawberries, sugar and lemon juice in a saucepan and bring to a boil. Then allow to simmer until the sauce starts getting syrupy, stirring occasionally. Take it off the heat and allow to cool completely before filling cupcakes. The sauce will thicken as it sits.
7. Whip the heavy cream until soft peaks form, then slowly add in the powdered sugar. Mix in the vanilla extract.
8. Fill and frost cupcakes once they've completely cooled.
9. Consume and enjoy!

Saturday, March 26, 2011

March's Cupcake Of The Month - Samoa Cupcakes

As you might have noticed from my last post, I sort of have a thing for Thin Mints (as well as Lemonades... and Tagalongs...), but I never really liked Samoas (now better known as Caramel deLites), with the reason being that I don't like coconut (it's because of the texture, not the flavor!). By request from a friend though, I came up with my own version of this cookie-turned-cupcake.


And I must admit, it's a pretty damn good cupcake. Even for someone who doesn't like coconut. And I'm so very glad I decided to make this because it gave me a reason to learn how to make homemade caramel!


By the way, I'm never buying caramel sauce from the store ever again. Never. Ever. Again.


I'll admit, it's a bit intimidating the first time you go over the recipe, especially after reading that the sauce can go from cooked to burnt in an instant. But don't be discouraged! Once you've got it down, you'll never go back to those preservative-filled squeeze bottles ever again! Of course, if you do end up going with a store-bought sauce for this, I obviously won't know and I definitely won't judge.


*Unlike my past posts, this one will not feature any baking-process pictures. I was pressed for time and couldn't stop or spend the time I wanted and needed to take the proper pictures.*


The Ingredients (makes 2 dozen):
For the caramel sauce (from Ina Garten's recipe; optional):
-1 1/2 cups sugar
-1/3 cup water
-1 1/4 cups heavy cream
-1 tsp vanilla extract
For the cupcakes:
-3 cups all-purpose flour
-1 1/2 tsp baking powder
-3/4 tsp salt
-1 1/2 cups butter, room temperature
-1 1/2 cups sugar
-4 large eggs
-2 tsp vanilla extract
-1 1/4 cups milk

For the frosting:
-1 cup unsalted butter, softened
-1 cup vegetable shortening
-1 1/2 cups caramel sauce
For the topping:
-2 cups coconut shavings, toasted
-1/4 cup chocolate chips, melted for drizzling
-1/4 cup caramel sauce


The Directions:
Optional: Mix the water and sugar together in a saucepan and cook over low heat until the sugar is dissolved. Then increase the heat to medium and let it boil uncovered until it becomes a warm chestnut brown color (or until it reaches 350 degrees). Then remove from heat and slowly add the heavy cream and vanilla. Return to low heat and allow to simmer, stirring constantly, until the caramel has dissolved into the cream and the sauce is smooth. Allow to cool and thicken before adding to the buttercream (note: this can take up to 4 hours).
1. Preheat the oven to 350 degrees Fahrenheit. Line your muffin pan(s) with cupcake papers.
2. Whisk together flour, baking powder and salt in a large bowl and set aside.
3. Cream the butter and sugar until light and fluffy.
4. Add eggs one at a time, making sure to mix well after each. Then mix in the vanilla.
5. Add the dry ingredients to the wet in increments. Scrape after each addition to make sure nothing settles at the bottom.
6. Once the batter is smooth, fill cupcake papers about halfway and bake for 15 to 17 minutes or until a toothpick comes out clean, rotating the pan(s) halfway through to ensure even baking. Allow to cool completely before frosting.
7. Beat butter and shortening together until combined and fluffy and then stir in the caramel sauce. Make sure to really scrape the bottom of the bowl for excess caramel that might have settled there.
8. Frost your cupcakes once they've completely cooled.
9. Top with the toasted coconut shavings and then drizzle caramel and chocolate over the top.
10. Consume and enjoy!

Monday, March 14, 2011

Short, Dark and Minty - A Homemade Version Of A Girl Scout Favorite

I don't know about you, but whenever March rolls around, there's only one thing on my mind.


Not March Madness...


Not St. Patrick's Day...


It's those damn Girl Scout cookies.


How I feel about them is sort of like how I feel when I have a crush on someone. When the person's around, I get all bubbly and excited. And then when I haven't had any contact with them for awhile I think, "okay, he wasn't that cute... I'm over him!" and I go on with my life. But somehow, they always find a way back in, and when they do, I'm giddy like a little schoolgirl again. But I digress. 


My love for Girl Scout cookies amazes me every year, for multiple reasons, but mostly because throughout the other eleven months, I never really eat cookies. I'll have cravings, like any other human being, but I usually don't go so far as to actually eat them (same goes for any other sweet, baked good). There's just something about these little discs of dough and their glazey goodness that I can't get enough of... But at $4 a box and who-wants-to-know how many calories, I have to show some restraint.


But deep down, there is always the inner fatty waiting to rebel against this restraint and take over my body as I helplessly watch myself eat through one box in a day (okay, this never actually happened to me in real life. I swear!). Luckily, though, both the baker and the cookie chaser in me talked it out this year and said, "hey Anna! You bake, so why aren't you making your own cookies whenever you want them?"


And then it was like a light bulb went off in my head: I can make my own cookies and I can make them whenever I want, which means I no longer have to wait until March to get my fix (which also means no more out-of-control cookie-eating)!


Ahh, thank you, subconscious.


The Ingredients:
For the cookies:
-1 cup butter, softened
-1 cup powdered sugar, sifted
-1 tsp vanilla extract
-1 cup unsweetened cocoa powder
-3/4 tsp salt
-1 1/2 cups flour
For the chocolate covering:
-1 lb semisweet chopped chocolate or chocolate chips
-1 tsp, or to taste, peppermint extract
(You can use mint chocolate chips, instead, if they're available)


The Directions:
1. Cream the butter until light and fluffy, then add sugar and beat together.
2. Stir in the vanilla extract, salt and cocoa powder.
3. Add in the flour and mix until the dough is crumbly.
4. Turn the dough out onto a clean surface and knead it until you can form a smooth ball. Divide the dough in half, flatten into discs, wrap in plastic and chill for 15 minutes.
5. Preheat your oven to 350 degrees Fahrenheit.
6. Take one of the discs of dough out and dust a dry, flat working surface with flour and roll it out. Cut out your cookies (I used a shamrock cutter for St. Patty's Day!) and bake for about 10 minutes. Don't worry if the cookies don't have that dry, wafer-like texture right when you take them out. They'll dry up once they've cooled.
Tip: Don't roll the dough too thin! Or you'll end up with a bunch of burnt cookies, like I did. (SAD!)
It was the perfect opportunity to add a shamrock to my cookie cutter collection
7. While cookies are cooling, melt the chocolate over a double boiler. Stir until the mixture is smooth and free of lumps, then stir in the peppermint extract and remove from the heat. I found that my chocolate was a little too thick to coat the cookies properly so if that happens to you too, you can put it back on the heat really quick and add 1 tbsp shortening (which I should've done). 
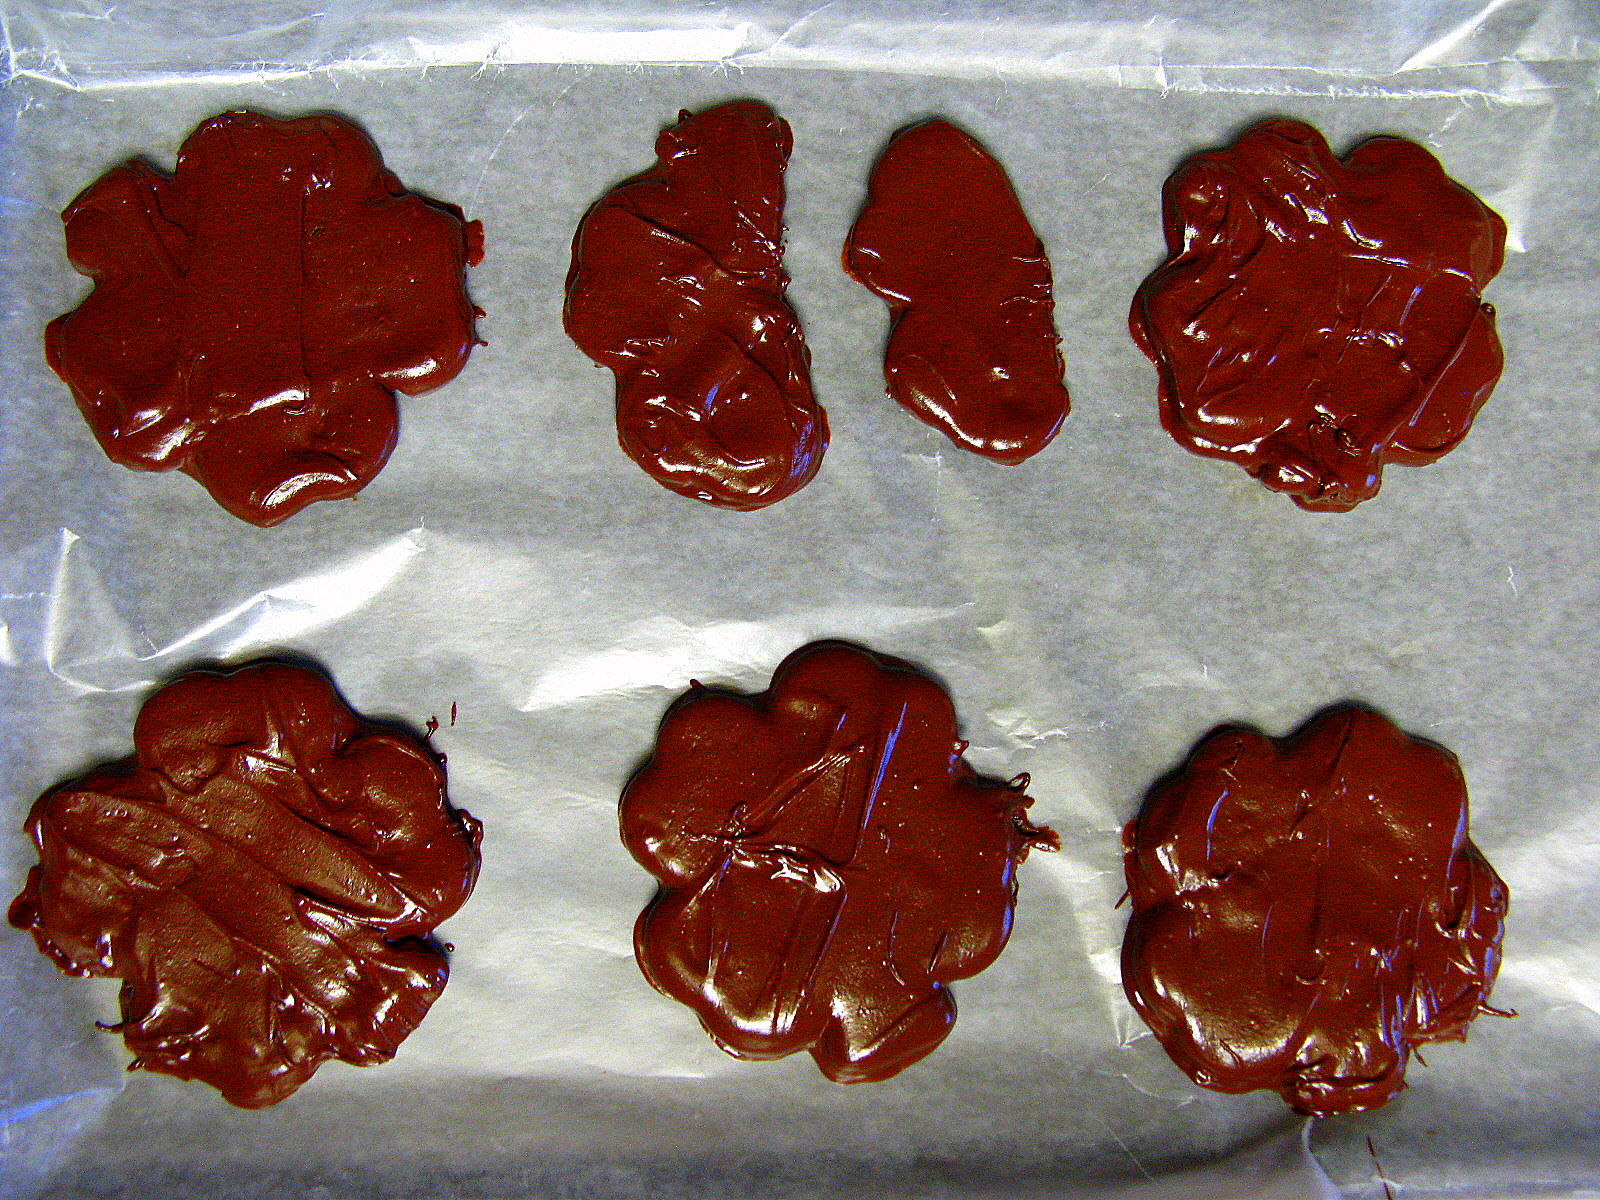
8. Drop cookies in one at a time and cover with a thin coating of chocolate. I used a fork to help me take out the cookies. Tap your fork (or whatever utensil you're using) against your bowl to let the excess chocolate drip off. Allow your cookies' coating to dry on a lined baking sheet (I used wax paper). If you want the chocolate to harden faster, just stick them in the fridge for 10 minutes.
One of my cookies got too excited and fell apart right after dipping
9. Consume and enjoy.

Sunday, February 27, 2011

February's Cupcake Of The Month - Chocolate And Chambord

Some exciting things have been happening for my blog these past couple of months. My last post was featured on foodgawker and tastespotting and because of that, I've gained  a handful of new followers, more exposure (the blog's even been StumbleUpon-ed... I thought that was pretty awesome), more traffic, and most recently, a sponsored giveaway by CSNstores.com.


Everyone's feedback on my blog and on my baked goods has been overwhelming and I'm so very thankful for it all. It's helping me find more inspiration to keep up baking and blogging. So thank you to all of you that have read my posts, are "following" me, and are supporting me in this, especially my testers who have willingly offered their taste buds up for my cause.


The Ingredients:
For the cupcakes:
-1 cup unsalted butter, softened

-1 cup water
-3/4 cup unsweetened cocoa powder
-2 cups flour
-2 cups sugar
-1 1/2 tsp baking soda
-1/2 tsp salt
-2 eggs
-1/2 cup sour cream
For the ganache:
-3 cups bittersweet chocolate chips
-1 cup heavy cream
-1 1/2 tbsp corn starch
-[at least] 50 mL Chambord

The Directions:
1. Preheat oven to 350 degrees Fahrenheit and line your cupcake pan(s).
2. Bring the butter and water to a simmer and then whisk in the cocoa powder until smooth. Remove from heat and allow to cool slightly.

 
3. Sift the flour, sugar, baking soda and salt together in a large bowl and set aside.
There's only so much one can do to make all-white ingredients look exciting together
4. Beat eggs and sour cream together until combined.
5. Gradually add the cocoa mixture to the eggs, constantly mixing so that you don't scramble the eggs.
6. Gradually add the dry mixture to the wet.
7. Fill cupcake cups (I filled them somewhere between 1/2 to 2/3 of the way up) and bake for about 12 minutes, or until a toothpick comes out clean. Rotate halfway through to ensure even baking. Allow to cool completely before frosting.
8. Over a double boiler (or a heatproof bowl over a pot of simmering water, making sure the bottom of the bowl doesn't touch the water) melt the chocolate chips, heavy cream and corn starch together. Once mixture is smooth, take it off the heat and stir in the liqueur until combined. Set aside and allow to cool so that it can thicken up.
You want your ganache to be completely smooth, not like the picture above
Note: I added 50 mL of the Chambord but felt that there wasn't enough of that raspberry flavor I was looking for, so I would suggest adding more a little at a time until the desired taste. Or maybe even a raspberry flavored filling would help. I plan on making a filling the next time I make these and if it works out, I will update this post with the filling's recipe.
9. Once your cupcakes are cool, frost them with a pastry bag, plastic baggie, dip the cupcakes, or do what I did and just spread the frosting on with a spoon (if you spoon and spread them, you'll probably only need a half of the ganache recipe). 
Tip: If you're frosting with a bag, you should wait until the the ganache is firm enough, or else it'll just run all over the place.
10. Consume and enjoy!
Don't worry, his ganache-stache was from before adding the liqueur.