Showing posts with label chocolate. Show all posts

Tuesday, February 21, 2012

The Hostess With The Mostest

Oh boy, busy busy month February is. I think every weekend this month, I've been busy with something. Today is the first day I've had some down time in awhile so I'm trying to use this as an opportunity to get some much needed work done, including this blog.


I do have some news, but I can't decide if it's good or bad yet. I recently met with an admissions adviser at the Fashion Institute of Design and Merchandising (FIDM) in San Francisco about possibly enrolling in their merchandise marketing program. I know, crazy, huh? And for those who have known me for at least the past few years, I'm just as shocked as you are. The adviser was very helpful and very well informed, but with all the information to digest, I left the building semi-nauseated by it all. Long story short, I think the program sounds excellent and the support and networking the school offers to their students is very desirable but I'll have to think about each pro and con thoroughly. And on top of all of that, if I want to pay the current tuition before the increase, I have to be accepted into the school by May 1st. No pressure, right?


Anyway... can you guess where I got the inspiration for these cupcakes? This might sound cheesy (but admittedly, probably not more than the title for this post), but I got the idea for these after I opened up my pantry and saw a box of the familiar chocolate cupcakes with the white squiggle on top and the overly sweet cream centers. And, fun fact: the "cream" used to fill the cupcakes is actually made with Crisco, not real cream. Yum. My version of the famous sweet treat is filled with vanilla mousse and raspberry preserves. A pretty tasty combination when combined with the rich chocolate cake and chocolate ganache on top, if I do say so myself. 


The Ingredients (makes about 2 dozen):
For the cupcakes:
-recipe can be found here
For the filling:
-2 tsp vanilla extract
-2/3 cup sugar
-2 egg whites
-1 cup heavy cream
- raspberry preserves
For the frosting:
-3 cups bittersweet chocolate chips
-1 cup heavy cream
-1 1/2 tbsp corn starch


The Directions:
1. Start with the filling first. Whip the heavy cream, vanilla and half of the sugar until soft peaks form. Set aside.
2. Beat the egg whites until foamy. Then add the rest of the sugar and beat until stiff peaks form.
3. Carefully fold the egg mixture into the whipped cream until combined. Refrigerate for at least 6 hours to allow the mousse to firm up (I made this the night before making the cupcakes).
4. Bake the cupcakes as directed.
5. Once the cupcakes are cool, core out the middle, being careful to keep the cores intact as you will need them to close up the hole later. Set aside.
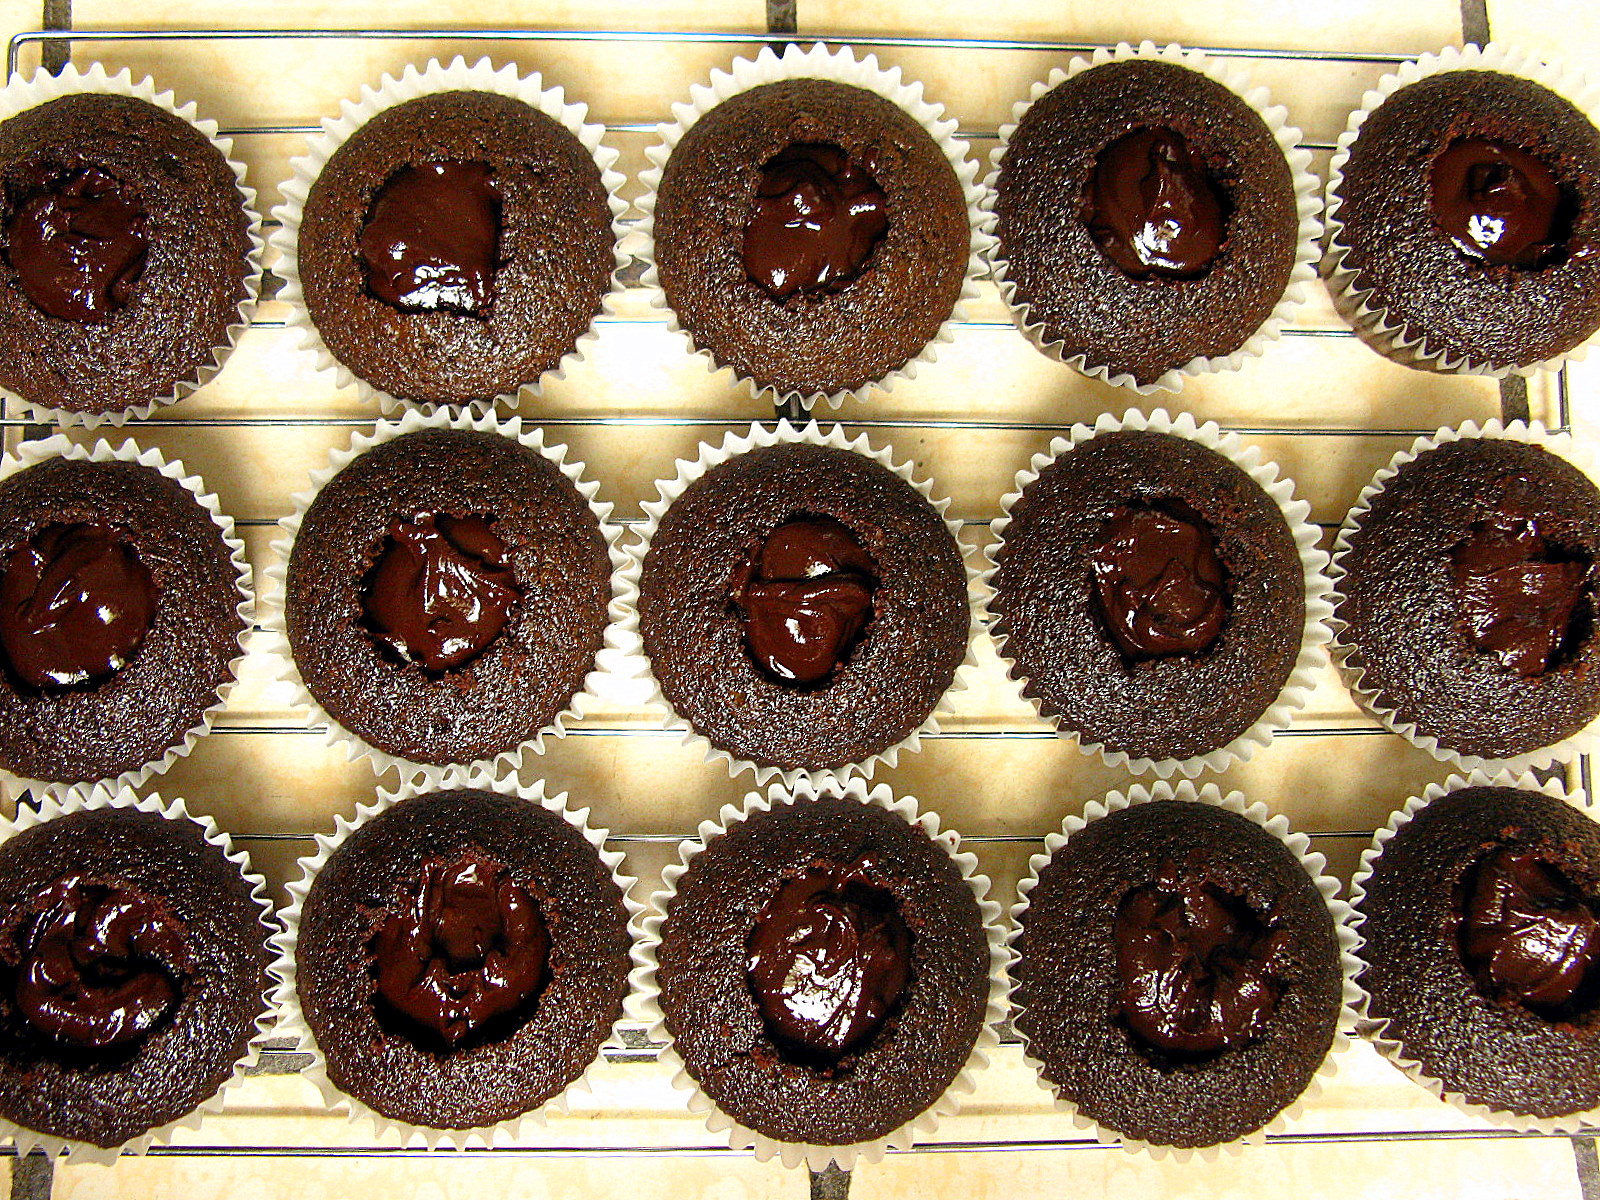
6. Put a layer of raspberry preserves into each cupcake and follow with a spoonful of vanilla mousse. Replace the tops of the cupcakes to prepare for the ganache frosting.
7. Dissolve the corn starch into the heavy cream first to avoid clumping. Then, in a double boiler, melt the chocolate chips and heavy cream together and stir until smooth.
8. Apply a layer of the ganache on top of each cupcake and allow to cool completely before serving or decorating.
9. Consume and enjoy!

Saturday, December 24, 2011

December's Cupcake Of The Month: Dark Chocolate and Peppermint

I hope you are all having a lovely December so far. Earlier this month, I was knee deep in work, tutoring, and finals, so of course, I welcomed my break with open arms. And even though I can't say that I've been particularly productive this break (what with my long to-do list of reading two book series, going back to the gym, and other miscellaneous tasks that I've been putting off), I have been enjoying the time I've spent with my family and friends. There's just something about the simple things in life like staying in for the night and watching a movie with my brothers or spending hours catching up with a friend over coffee that makes me so grateful for what I have. It's actually making me a little teary-eyed right now just thinking about it. But anyway... 


On a less serious note, another thing I'm really grateful for is chocolate. Especially when it's paired with almonds or mint. So I decided that, as a birthday present to myself, I'd center this month's cupcakes around chocolate and peppermint! I used the same recipe for the cupcakes as my chocolate and Chambord recipe and for the filling and frosting, I made a super simple whipped cream, flavored with peppermint extract and candies. I hope you enjoy this recipe! Cheers and happy holidays!


The Ingredients (makes about 2 dozen):
For the cupcakes:
-recipe can be found here
For the filling and frosting:
-2 cups heavy cream
-4 tbsp powdered sugar, or to taste
-2 tbsp peppermint extract, or to taste
-1/2 cup finely ground peppermint candies


The Directions:
1. Bake cupcakes as directed.
2. When cupcakes are cool, cut out the center of each cupcake.
3. Whip the cream until soft peaks form.
4. Slowly add the sugar, and then the extract and whip until firm peaks form.
5. Gently fold in the candies and then fill and frost cupcakes.
6. Consume and enjoy!

Wednesday, November 23, 2011

Vegan Brownies

Another recipe for National Vegan Month! And another recipe proving that just because no animal products were used, it doesn't mean it's going to taste bad! I'm not vegan myself (obviously), but I don't like that people jump to the conclusion that just because something's vegan, it's going to taste terrible.


Anyway... these brownies are more cake-like than fudge-y, but they still have that rich chocolate-y goodness brownies are known for. Perfect with a cup of milk or soymilk!


The Ingredients:
-2 cups flour
-2 cups unbleached cane sugar
-3/4 cup unsweetened cocoa powder
-1 tsp baking powder
-1 tsp salt
-1 cup water
-1 cup vegetable oil
-1 tsp vanilla extract


The Directions:
1. Preheat the oven to 350 degrees Fahrenheit and grease (make sure to keep it vegan!) and flour your baking pan.
2. Whisk the flour, sugar, cocoa, baking powder and salt together.
3. Pour in the water, oil and vanilla and mix will until well combined.
4. Bake for 25 to 30 minutes, or until the top is no longer shiny. Rotate the pan halfway through to ensure even baking.
5. Allow to cool completely, then run a knife along the sides and flip out onto a cutting board. Cut into squares.
6. Consume and enjoy!

Saturday, November 19, 2011

November's Cupcake Of The Month: Super Chocolate-y Vegan Cupcakes

Oi, almost another month gone already. All this time flying by has made me realize just how much I procrastinate. Seriously. My original plans for November were to get my hair cut, dye my hair again, bake two goods for National Vegan Month, catch up on reading, and respond to an invitation to meet up with a friend. So far, I've baked these cupcakes and kind of responded to the invitation. And by kind of, I mean, I told him the days I would be available in hopes that he would set a date because I'm indecisive as hell, but instead he said "whenever" is fine with him... Well, guess what, you can't spell "whenever" without "never" so I guess we can't be friends. Just kidding, I'll see him in a couple of weeks. 


But anyway, with Thanksgiving less than a week away, the holiday season is upon us! And for all of you Game of Thrones fans out there, winter is coming! So make sure to come back soon to check for more holiday-inspired goodies. And if you love the combination of pumpkin and chocolate, be sure to visit before Thanksgiving!


Now, finally, on to the cupcakes. You would never be able to guess that they're vegan just by tasting them. They're super moist and the super easy frosting makes them the perfect little animal product-free treat. Since I don't have a vegan recipe of my own, I borrowed this one from "Vegan Cupcakes Take Over The World," written by two wonderful vegan bakers. And if cupcakes aren't your thing, they have other vegan cookbooks as well, including "Vegan Cookies Invade Your Cookie Jar" and "Vegan Pie In The Sky". Hope you enjoy these as much as I did! 


The Ingredients (makes 1 dozen):
For the cupcakes (from Vegan Cupcakes Take Over The World):
-1 cup plain soy milk
-1 tsp apple cider vinegar
-1/2 cup unbleached cane sugar
-1/3 cup canola oil
-1 1/2 tsp vanilla extract
-1 cup all purpose flour
-1/3 cup unsweetened cocoa powder
-3/4 tsp baking soda
-1/2 tsp baking powder
-a pinch of salt
For the frosting:
-1/4 cup unbleached cane sugar
-1/4 cup unsweetened cocoa powder
-about 1/3 cup warm water


The Directions:
1. Preheat your oven to 350 degrees Fahrenheit and line your cupcake pan.
2. Whisk the soy milk and vinegar in a large bowl and set aside to allow it to curdle.
3. In a separate bowl, sift together the flour, cocoa, baking soda, baking powder and salt.
4. Add the sugar, oil and vanilla to the soy milk and beat until foamy. Then add the dry ingredients in increments, mixing until smooth and combined and scraping the bowl between each addition.
5. Fill cupcake cups and bake for 18 to 20 minutes, or until a toothpick in the center comes out clean. Allow to cool completely before frosting.
6. Combine the sugar and cocoa powder in a bowl and whisk in a tablespoon of water at a time until you reach your desired consistency. Stir until smooth. If you're having trouble getting the sugar to dissolve completely, you can stir the mixture over a pot of simmering water.
7. Frost your cupcakes.
8. Consume and enjoy!
Jordan, my assistant for the day, picking out his reward

Saturday, March 26, 2011

March's Cupcake Of The Month - Samoa Cupcakes

As you might have noticed from my last post, I sort of have a thing for Thin Mints (as well as Lemonades... and Tagalongs...), but I never really liked Samoas (now better known as Caramel deLites), with the reason being that I don't like coconut (it's because of the texture, not the flavor!). By request from a friend though, I came up with my own version of this cookie-turned-cupcake.


And I must admit, it's a pretty damn good cupcake. Even for someone who doesn't like coconut. And I'm so very glad I decided to make this because it gave me a reason to learn how to make homemade caramel!


By the way, I'm never buying caramel sauce from the store ever again. Never. Ever. Again.


I'll admit, it's a bit intimidating the first time you go over the recipe, especially after reading that the sauce can go from cooked to burnt in an instant. But don't be discouraged! Once you've got it down, you'll never go back to those preservative-filled squeeze bottles ever again! Of course, if you do end up going with a store-bought sauce for this, I obviously won't know and I definitely won't judge.


*Unlike my past posts, this one will not feature any baking-process pictures. I was pressed for time and couldn't stop or spend the time I wanted and needed to take the proper pictures.*


The Ingredients (makes 2 dozen):
For the caramel sauce (from Ina Garten's recipe; optional):
-1 1/2 cups sugar
-1/3 cup water
-1 1/4 cups heavy cream
-1 tsp vanilla extract
For the cupcakes:
-3 cups all-purpose flour
-1 1/2 tsp baking powder
-3/4 tsp salt
-1 1/2 cups butter, room temperature
-1 1/2 cups sugar
-4 large eggs
-2 tsp vanilla extract
-1 1/4 cups milk

For the frosting:
-1 cup unsalted butter, softened
-1 cup vegetable shortening
-1 1/2 cups caramel sauce
For the topping:
-2 cups coconut shavings, toasted
-1/4 cup chocolate chips, melted for drizzling
-1/4 cup caramel sauce


The Directions:
Optional: Mix the water and sugar together in a saucepan and cook over low heat until the sugar is dissolved. Then increase the heat to medium and let it boil uncovered until it becomes a warm chestnut brown color (or until it reaches 350 degrees). Then remove from heat and slowly add the heavy cream and vanilla. Return to low heat and allow to simmer, stirring constantly, until the caramel has dissolved into the cream and the sauce is smooth. Allow to cool and thicken before adding to the buttercream (note: this can take up to 4 hours).
1. Preheat the oven to 350 degrees Fahrenheit. Line your muffin pan(s) with cupcake papers.
2. Whisk together flour, baking powder and salt in a large bowl and set aside.
3. Cream the butter and sugar until light and fluffy.
4. Add eggs one at a time, making sure to mix well after each. Then mix in the vanilla.
5. Add the dry ingredients to the wet in increments. Scrape after each addition to make sure nothing settles at the bottom.
6. Once the batter is smooth, fill cupcake papers about halfway and bake for 15 to 17 minutes or until a toothpick comes out clean, rotating the pan(s) halfway through to ensure even baking. Allow to cool completely before frosting.
7. Beat butter and shortening together until combined and fluffy and then stir in the caramel sauce. Make sure to really scrape the bottom of the bowl for excess caramel that might have settled there.
8. Frost your cupcakes once they've completely cooled.
9. Top with the toasted coconut shavings and then drizzle caramel and chocolate over the top.
10. Consume and enjoy!

Monday, March 14, 2011

Short, Dark and Minty - A Homemade Version Of A Girl Scout Favorite

I don't know about you, but whenever March rolls around, there's only one thing on my mind.


Not March Madness...


Not St. Patrick's Day...


It's those damn Girl Scout cookies.


How I feel about them is sort of like how I feel when I have a crush on someone. When the person's around, I get all bubbly and excited. And then when I haven't had any contact with them for awhile I think, "okay, he wasn't that cute... I'm over him!" and I go on with my life. But somehow, they always find a way back in, and when they do, I'm giddy like a little schoolgirl again. But I digress. 


My love for Girl Scout cookies amazes me every year, for multiple reasons, but mostly because throughout the other eleven months, I never really eat cookies. I'll have cravings, like any other human being, but I usually don't go so far as to actually eat them (same goes for any other sweet, baked good). There's just something about these little discs of dough and their glazey goodness that I can't get enough of... But at $4 a box and who-wants-to-know how many calories, I have to show some restraint.


But deep down, there is always the inner fatty waiting to rebel against this restraint and take over my body as I helplessly watch myself eat through one box in a day (okay, this never actually happened to me in real life. I swear!). Luckily, though, both the baker and the cookie chaser in me talked it out this year and said, "hey Anna! You bake, so why aren't you making your own cookies whenever you want them?"


And then it was like a light bulb went off in my head: I can make my own cookies and I can make them whenever I want, which means I no longer have to wait until March to get my fix (which also means no more out-of-control cookie-eating)!


Ahh, thank you, subconscious.


The Ingredients:
For the cookies:
-1 cup butter, softened
-1 cup powdered sugar, sifted
-1 tsp vanilla extract
-1 cup unsweetened cocoa powder
-3/4 tsp salt
-1 1/2 cups flour
For the chocolate covering:
-1 lb semisweet chopped chocolate or chocolate chips
-1 tsp, or to taste, peppermint extract
(You can use mint chocolate chips, instead, if they're available)


The Directions:
1. Cream the butter until light and fluffy, then add sugar and beat together.
2. Stir in the vanilla extract, salt and cocoa powder.
3. Add in the flour and mix until the dough is crumbly.
4. Turn the dough out onto a clean surface and knead it until you can form a smooth ball. Divide the dough in half, flatten into discs, wrap in plastic and chill for 15 minutes.
5. Preheat your oven to 350 degrees Fahrenheit.
6. Take one of the discs of dough out and dust a dry, flat working surface with flour and roll it out. Cut out your cookies (I used a shamrock cutter for St. Patty's Day!) and bake for about 10 minutes. Don't worry if the cookies don't have that dry, wafer-like texture right when you take them out. They'll dry up once they've cooled.
Tip: Don't roll the dough too thin! Or you'll end up with a bunch of burnt cookies, like I did. (SAD!)
It was the perfect opportunity to add a shamrock to my cookie cutter collection
7. While cookies are cooling, melt the chocolate over a double boiler. Stir until the mixture is smooth and free of lumps, then stir in the peppermint extract and remove from the heat. I found that my chocolate was a little too thick to coat the cookies properly so if that happens to you too, you can put it back on the heat really quick and add 1 tbsp shortening (which I should've done). 
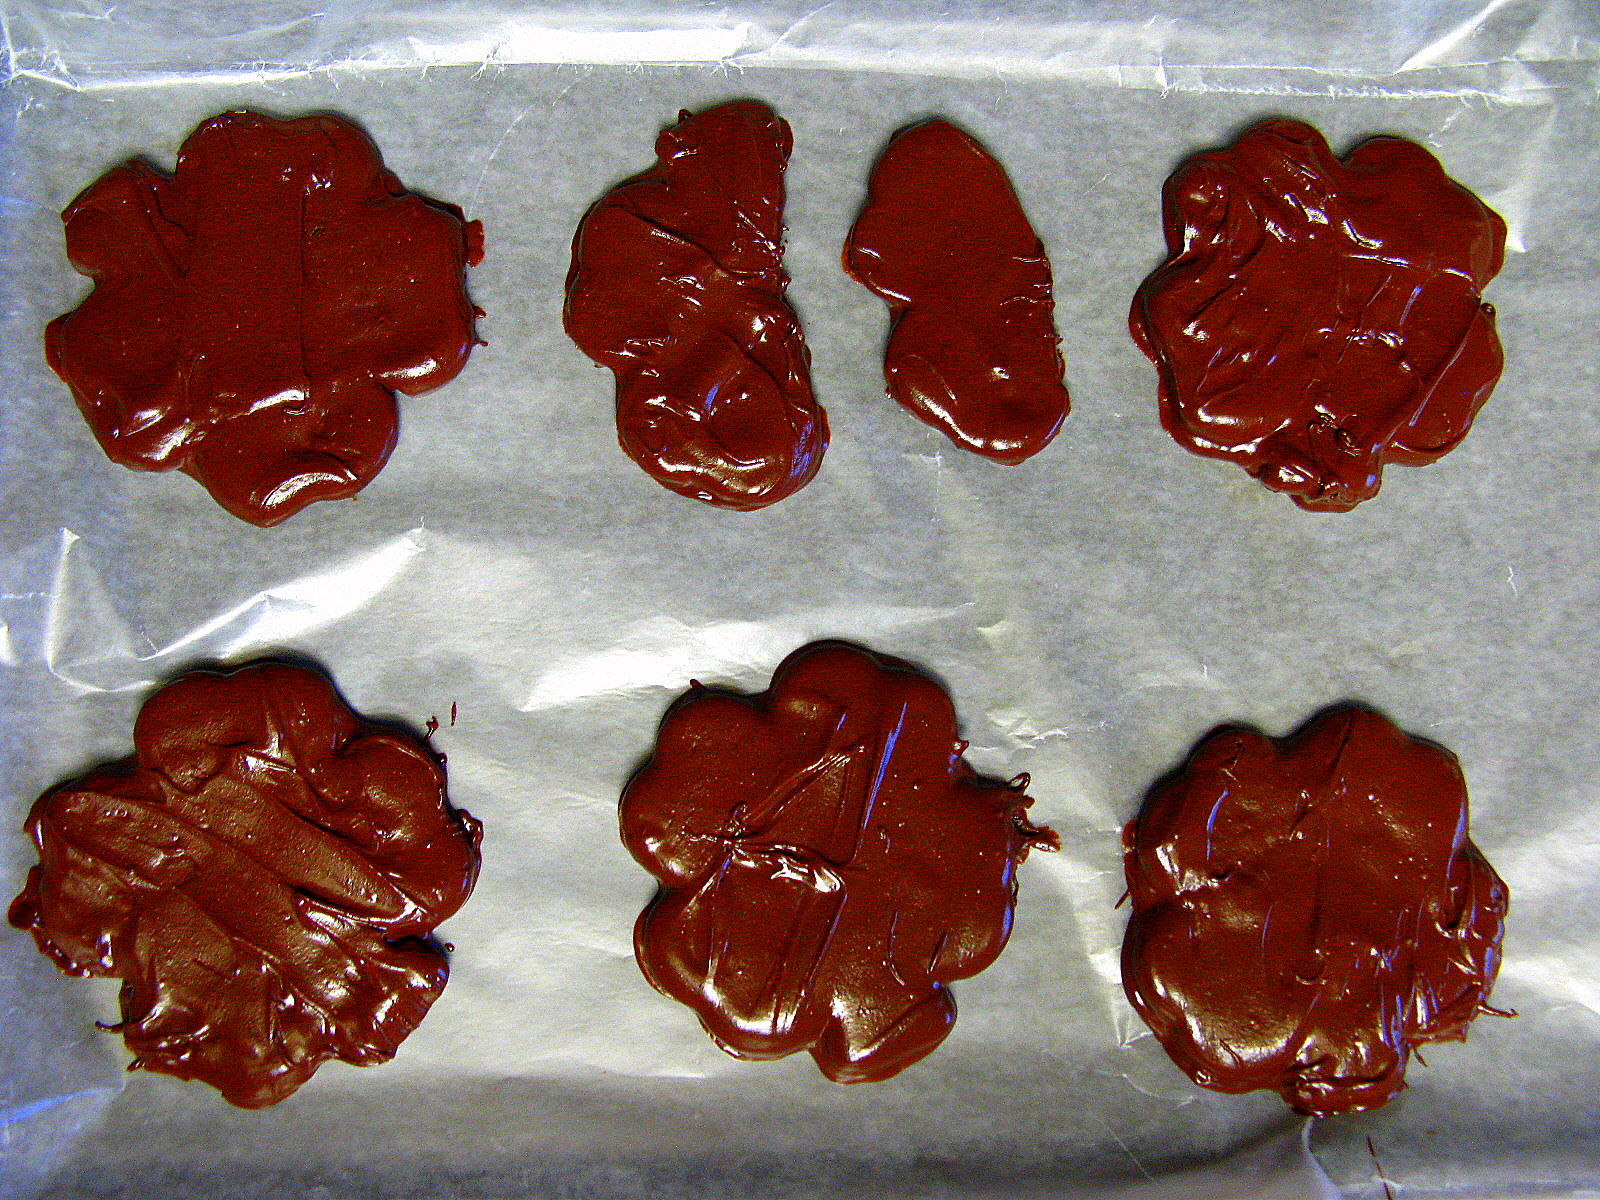
8. Drop cookies in one at a time and cover with a thin coating of chocolate. I used a fork to help me take out the cookies. Tap your fork (or whatever utensil you're using) against your bowl to let the excess chocolate drip off. Allow your cookies' coating to dry on a lined baking sheet (I used wax paper). If you want the chocolate to harden faster, just stick them in the fridge for 10 minutes.
One of my cookies got too excited and fell apart right after dipping
9. Consume and enjoy.

Sunday, February 27, 2011

February's Cupcake Of The Month - Chocolate And Chambord

Some exciting things have been happening for my blog these past couple of months. My last post was featured on foodgawker and tastespotting and because of that, I've gained  a handful of new followers, more exposure (the blog's even been StumbleUpon-ed... I thought that was pretty awesome), more traffic, and most recently, a sponsored giveaway by CSNstores.com.


Everyone's feedback on my blog and on my baked goods has been overwhelming and I'm so very thankful for it all. It's helping me find more inspiration to keep up baking and blogging. So thank you to all of you that have read my posts, are "following" me, and are supporting me in this, especially my testers who have willingly offered their taste buds up for my cause.


The Ingredients:
For the cupcakes:
-1 cup unsalted butter, softened

-1 cup water
-3/4 cup unsweetened cocoa powder
-2 cups flour
-2 cups sugar
-1 1/2 tsp baking soda
-1/2 tsp salt
-2 eggs
-1/2 cup sour cream
For the ganache:
-3 cups bittersweet chocolate chips
-1 cup heavy cream
-1 1/2 tbsp corn starch
-[at least] 50 mL Chambord

The Directions:
1. Preheat oven to 350 degrees Fahrenheit and line your cupcake pan(s).
2. Bring the butter and water to a simmer and then whisk in the cocoa powder until smooth. Remove from heat and allow to cool slightly.

 
3. Sift the flour, sugar, baking soda and salt together in a large bowl and set aside.
There's only so much one can do to make all-white ingredients look exciting together
4. Beat eggs and sour cream together until combined.
5. Gradually add the cocoa mixture to the eggs, constantly mixing so that you don't scramble the eggs.
6. Gradually add the dry mixture to the wet.
7. Fill cupcake cups (I filled them somewhere between 1/2 to 2/3 of the way up) and bake for about 12 minutes, or until a toothpick comes out clean. Rotate halfway through to ensure even baking. Allow to cool completely before frosting.
8. Over a double boiler (or a heatproof bowl over a pot of simmering water, making sure the bottom of the bowl doesn't touch the water) melt the chocolate chips, heavy cream and corn starch together. Once mixture is smooth, take it off the heat and stir in the liqueur until combined. Set aside and allow to cool so that it can thicken up.
You want your ganache to be completely smooth, not like the picture above
Note: I added 50 mL of the Chambord but felt that there wasn't enough of that raspberry flavor I was looking for, so I would suggest adding more a little at a time until the desired taste. Or maybe even a raspberry flavored filling would help. I plan on making a filling the next time I make these and if it works out, I will update this post with the filling's recipe.
9. Once your cupcakes are cool, frost them with a pastry bag, plastic baggie, dip the cupcakes, or do what I did and just spread the frosting on with a spoon (if you spoon and spread them, you'll probably only need a half of the ganache recipe). 
Tip: If you're frosting with a bag, you should wait until the the ganache is firm enough, or else it'll just run all over the place.
10. Consume and enjoy!
Don't worry, his ganache-stache was from before adding the liqueur.

Sunday, January 16, 2011

January's Cupcake Of The Month - Irish Cake Bombs

You know, sort of like Irish Car Bombs, but in cake form.


These probably would've made more sense being March's cupcake but it was a good friend's 21st birthday and what better way to celebrate a boozy birthday than with boozy cupcakes?


The Ingredients (makes about 2 dozen):
For the cupcakes:
-1 cup unsalted butter, softened
-1 cup stout beer
-3/4 cup unsweetened cocoa powder
-2 cups flour
-2 cups sugar
-1 1/2 tsp baking soda
-1/2 tsp salt
-2 eggs
-1/2 cup sour cream
For the filling:
-1 1/2 cups bittersweet chocolate chips
-1/2 cup heavy cream
-3/4 tbsp corn starch
-3 tsp Irish whiskey
For the frosting:
-1 cup unsalted butter, softened
-1 cup vegetable shortening
-1 1/2 cups powdered sugar, or to taste, sifted
-6 tbsp Irish cream
-1 tsp vanilla extract
-pinch of salt


The Directions:
1. Preheat oven to 350 degrees Fahrenheit and line your cupcake pan(s).
2. Bring the beer and butter to a simmer and then whisk in the cocoa powder until smooth. Remove from heat and allow to cool slightly.
3. Sift the flour, sugar, baking soda and salt together in a large bowl and set aside.
4. Beat eggs and sour cream together until combined.
5. Gradually add the cocoa mixture to the eggs, constantly mixing so that you don't scramble the eggs.
Watch out for splashing!
6. Gradually add the dry mixture to the wet. 
Reminder: Make sure to scrape your mixing bowl and paddle between each addition, especially the bottom where ingredients can settle!
7. Fill cupcake cups (I filled them about 1/2 to 2/3 of the way up) and bake for about 15 minutes, or until a toothpick comes out clean. Rotate halfway through to ensure even baking. Allow to cool completely before filling or frosting.
8. Over a double boiler (or a heatproof bowl over a pot of simmering water, making sure the bottom of the bowl doesn't touch the water) melt the chocolate chips, heavy cream and corn starch together. Once mixture is smooth, take it off the heat and stir in the whiskey until combined. Set aside and allow to cool so that it can thicken up before filling the cupcakes, stirring every few minutes.
Oh my ganache!
9. Whip the shortening and butter together until light and fluffy. Then add the Irish cream and vanilla extract. Next, gradually add the sugar to taste. Lastly, add a pinch of salt. If you're not frosting the same day, cover and refrigerate.
10. After your cupcakes have cooled, use a tsp or melon baller and dig out a hole (I dug down to about 2/3 of the way down) and fill them up with the ganache filling. You can pipe it in (if you don't have a piping bag, you can use a plastic sandwich bag with a corner cut off) or just spoon the filling in.


11. Frost the cupcakes with either a spatula, a piping bag or a sandwich bag.
12. Consume and enjoy!
Tip: These cupcakes can be made a couple days ahead as long as they're thoroughly wrapped or covered and refrigerated, even after they've been filled. I would recommend holding off on the frosting until the day you serve them though. Also, if you're serving your cupcakes more than 3 to 4 hours after frosting them, you might want to put them in the refrigerator until about an hour before you serve (there is a bit of a dairy in the frosting after all.) Better to be safe than sorry with food poisoning later.
All packed and ready for the party!

Thursday, December 30, 2010

Champagne Truffles

Making these new year's eve treats couldn't be easier! Seriously. As I'm typing this, mine are sitting in the freezer as we speak, firming up and getting ready to be rolled in delicious almond-y goodness.


The only things you have to really pay attention to are the toasting of the almonds (if you're planning on toasting them yourself, which I highly recommend) and boiling the heavy cream. With the former, it's probably obvious why you'd have to pay attention... no one wants to eat burnt almonds. And the cream, it can easily boil over in just a matter of seconds after reaching its boiling point, so you just want to make sure you don't get distracted and walk away while it's heating up, especially since it's such a small amount of liquid.


The Ingredients:
-1/2 cup heavy cream
-8 oz bittersweet chocolate. If you're using chocolate chips you can leave them as they are, but if you're using a bar, chop them up to make it easier to melt.
-1/4 cup champagne
-toasted almonds, chopped


The Directions:
1. Bring the heavy cream to a boil in a small saucepan, then immediately pour over the chocolate.
2. Stir until everything is smooth.
3. Stir in the champagne. The mixture gets really thin after everything is incorporated but everything will thicken once it's been in the freezer.
4. Freeze mixture until the chocolate is firm enough to form into balls.
5. In the meantime, if you're toasting your own almonds, spread them out onto a cookie sheet (don't chop them up until after you've toasted them or else all of their oils will evaporate in the oven) and put them in an oven that's been preheated to 400 degrees Fahrenheit for about 5 minutes. Allow them to cool and then chop them up.
6. Scoop chocolate into balls with either a melon baller, a small ice cream scooper, or a teaspoon and place the balls onto a cookie sheet lined with parchment paper. But work fast because the chocolate can quickly soften again (I used a teaspoon and it gave me about 25 truffles.) Place them back into the freezer to firm up again.
7. Roll truffles in the chopped almonds, transfer back to baking sheet, cover with saran wrap and refrigerate for at least another half hour. These can be made in advance and stored in the refrigerator for up to three days.
8. Consume and enjoy with your leftover champagne!

Unfortunately, I over-toasted my almonds so they're more brown than golden-brown.
Ideas: If nut toppings aren't your cup of tea, you can always roll your truffles in something else! The most popular one would probably be to roll them in cocoa powder but you can also roll them in sprinkles, candy bits, coconut... you can even dip the truffles into melted chocolate. The possibilities are endless!

Tuesday, November 16, 2010

Cranberry and Dark Chocolate Oatmeal Cookies

This is probably my favorite cookie recipe to make and to eat (and that's saying something because I don't usually like to eat the things I bake. Weird, I know.) What I love about this is that it's super easy. You can start with just the oatmeal part (or even keep it that way if you like it as it is) and literally just throw whatever you have on hand into it and it'll come out absolutely delicious. Ask anyone I've ever given baked goods, this is definitely my go-to.


The Ingredients:
-1 cup butter, softened (you can also substitute this with vegetable shortening instead and it'll give you a mostly crunchy cookie, which my family prefers)
-1 cup brown sugar
-1 cup granulated sugar
-1 tsp vanilla extract
-2 eggs, room temperature
-2 cups all purpose flour
-2 cups quick cooking oats
-1 tsp baking soda
-1 tsp baking powder
-1 tsp salt
-1/2 cup dried cranberries
-1/2 cup dark chocolate chips (if you don't have any chocolate chips, just chop up your favorite chocolate bar!)


The Directions:
1. Preheat oven to 350 degrees Fahrenheit.
2. Cream the butter and sugars until light and fluffy.
3. Add vanilla, then eggs one at a time, making sure the eggs are fully incorporated.
4. In a separate bowl, combine the flour, oats, salt, baking soda and baking powder.
5. Add half the dry mixture to the wet and mix until it's incorporated, then mix in the rest of the dry.
6. Add the cranberries and chocolate chips and stir in by hand.
7. Spoon out onto an ungreased baking sheet. I usually lay down a silicon mat or some parchment paper.
8. Flatten the cookie dough onto the baking sheet before baking (this cookie doesn't really spread out much during baking)
9. Bake until the cookies are golden brown.
10. Enjoy with some coffee or a glass of milk!