Showing posts with label peppermint. Show all posts

Saturday, December 24, 2011

December's Cupcake Of The Month: Dark Chocolate and Peppermint

I hope you are all having a lovely December so far. Earlier this month, I was knee deep in work, tutoring, and finals, so of course, I welcomed my break with open arms. And even though I can't say that I've been particularly productive this break (what with my long to-do list of reading two book series, going back to the gym, and other miscellaneous tasks that I've been putting off), I have been enjoying the time I've spent with my family and friends. There's just something about the simple things in life like staying in for the night and watching a movie with my brothers or spending hours catching up with a friend over coffee that makes me so grateful for what I have. It's actually making me a little teary-eyed right now just thinking about it. But anyway... 


On a less serious note, another thing I'm really grateful for is chocolate. Especially when it's paired with almonds or mint. So I decided that, as a birthday present to myself, I'd center this month's cupcakes around chocolate and peppermint! I used the same recipe for the cupcakes as my chocolate and Chambord recipe and for the filling and frosting, I made a super simple whipped cream, flavored with peppermint extract and candies. I hope you enjoy this recipe! Cheers and happy holidays!


The Ingredients (makes about 2 dozen):
For the cupcakes:
-recipe can be found here
For the filling and frosting:
-2 cups heavy cream
-4 tbsp powdered sugar, or to taste
-2 tbsp peppermint extract, or to taste
-1/2 cup finely ground peppermint candies


The Directions:
1. Bake cupcakes as directed.
2. When cupcakes are cool, cut out the center of each cupcake.
3. Whip the cream until soft peaks form.
4. Slowly add the sugar, and then the extract and whip until firm peaks form.
5. Gently fold in the candies and then fill and frost cupcakes.
6. Consume and enjoy!

Monday, March 14, 2011

Short, Dark and Minty - A Homemade Version Of A Girl Scout Favorite

I don't know about you, but whenever March rolls around, there's only one thing on my mind.


Not March Madness...


Not St. Patrick's Day...


It's those damn Girl Scout cookies.


How I feel about them is sort of like how I feel when I have a crush on someone. When the person's around, I get all bubbly and excited. And then when I haven't had any contact with them for awhile I think, "okay, he wasn't that cute... I'm over him!" and I go on with my life. But somehow, they always find a way back in, and when they do, I'm giddy like a little schoolgirl again. But I digress. 


My love for Girl Scout cookies amazes me every year, for multiple reasons, but mostly because throughout the other eleven months, I never really eat cookies. I'll have cravings, like any other human being, but I usually don't go so far as to actually eat them (same goes for any other sweet, baked good). There's just something about these little discs of dough and their glazey goodness that I can't get enough of... But at $4 a box and who-wants-to-know how many calories, I have to show some restraint.


But deep down, there is always the inner fatty waiting to rebel against this restraint and take over my body as I helplessly watch myself eat through one box in a day (okay, this never actually happened to me in real life. I swear!). Luckily, though, both the baker and the cookie chaser in me talked it out this year and said, "hey Anna! You bake, so why aren't you making your own cookies whenever you want them?"


And then it was like a light bulb went off in my head: I can make my own cookies and I can make them whenever I want, which means I no longer have to wait until March to get my fix (which also means no more out-of-control cookie-eating)!


Ahh, thank you, subconscious.


The Ingredients:
For the cookies:
-1 cup butter, softened
-1 cup powdered sugar, sifted
-1 tsp vanilla extract
-1 cup unsweetened cocoa powder
-3/4 tsp salt
-1 1/2 cups flour
For the chocolate covering:
-1 lb semisweet chopped chocolate or chocolate chips
-1 tsp, or to taste, peppermint extract
(You can use mint chocolate chips, instead, if they're available)


The Directions:
1. Cream the butter until light and fluffy, then add sugar and beat together.
2. Stir in the vanilla extract, salt and cocoa powder.
3. Add in the flour and mix until the dough is crumbly.
4. Turn the dough out onto a clean surface and knead it until you can form a smooth ball. Divide the dough in half, flatten into discs, wrap in plastic and chill for 15 minutes.
5. Preheat your oven to 350 degrees Fahrenheit.
6. Take one of the discs of dough out and dust a dry, flat working surface with flour and roll it out. Cut out your cookies (I used a shamrock cutter for St. Patty's Day!) and bake for about 10 minutes. Don't worry if the cookies don't have that dry, wafer-like texture right when you take them out. They'll dry up once they've cooled.
Tip: Don't roll the dough too thin! Or you'll end up with a bunch of burnt cookies, like I did. (SAD!)
It was the perfect opportunity to add a shamrock to my cookie cutter collection
7. While cookies are cooling, melt the chocolate over a double boiler. Stir until the mixture is smooth and free of lumps, then stir in the peppermint extract and remove from the heat. I found that my chocolate was a little too thick to coat the cookies properly so if that happens to you too, you can put it back on the heat really quick and add 1 tbsp shortening (which I should've done). 
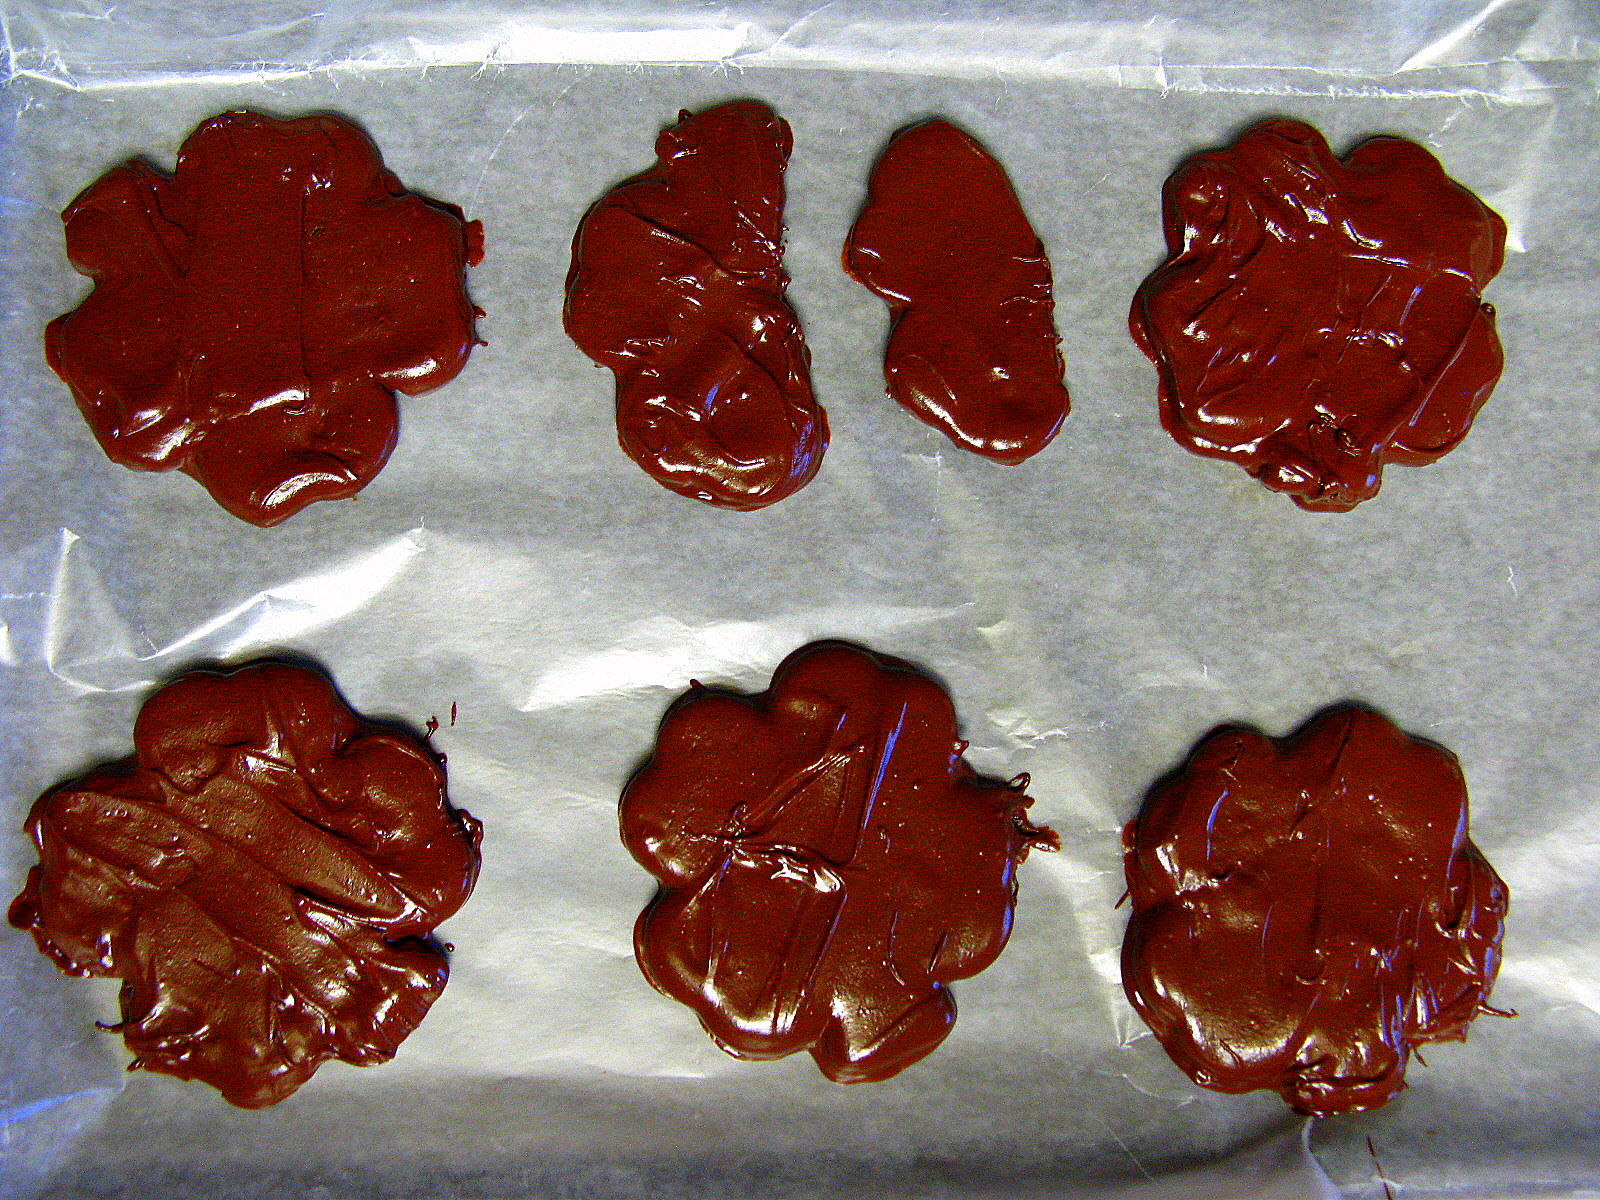
8. Drop cookies in one at a time and cover with a thin coating of chocolate. I used a fork to help me take out the cookies. Tap your fork (or whatever utensil you're using) against your bowl to let the excess chocolate drip off. Allow your cookies' coating to dry on a lined baking sheet (I used wax paper). If you want the chocolate to harden faster, just stick them in the fridge for 10 minutes.
One of my cookies got too excited and fell apart right after dipping
9. Consume and enjoy.