Breaking news!!! I'm still alive! It has literally been so long since I've baked and blogged that I've forgotten how to do everything. Seriously. When I went to edit my photos, half of them were out of focus because I've apparently forgotten how to use my camera...
Here is a quick recap of the past few months: I've since moved to San Francisco and have already finished my first quarter at FIDM and I absolutely loved it. It reminded me how much I love learning, how much I love shopping, and how much I enjoy procrastinating (in the beginning at least). And although I don't want my break to end, I'm looking forward to starting the next quarter and it feels pretty darn good!
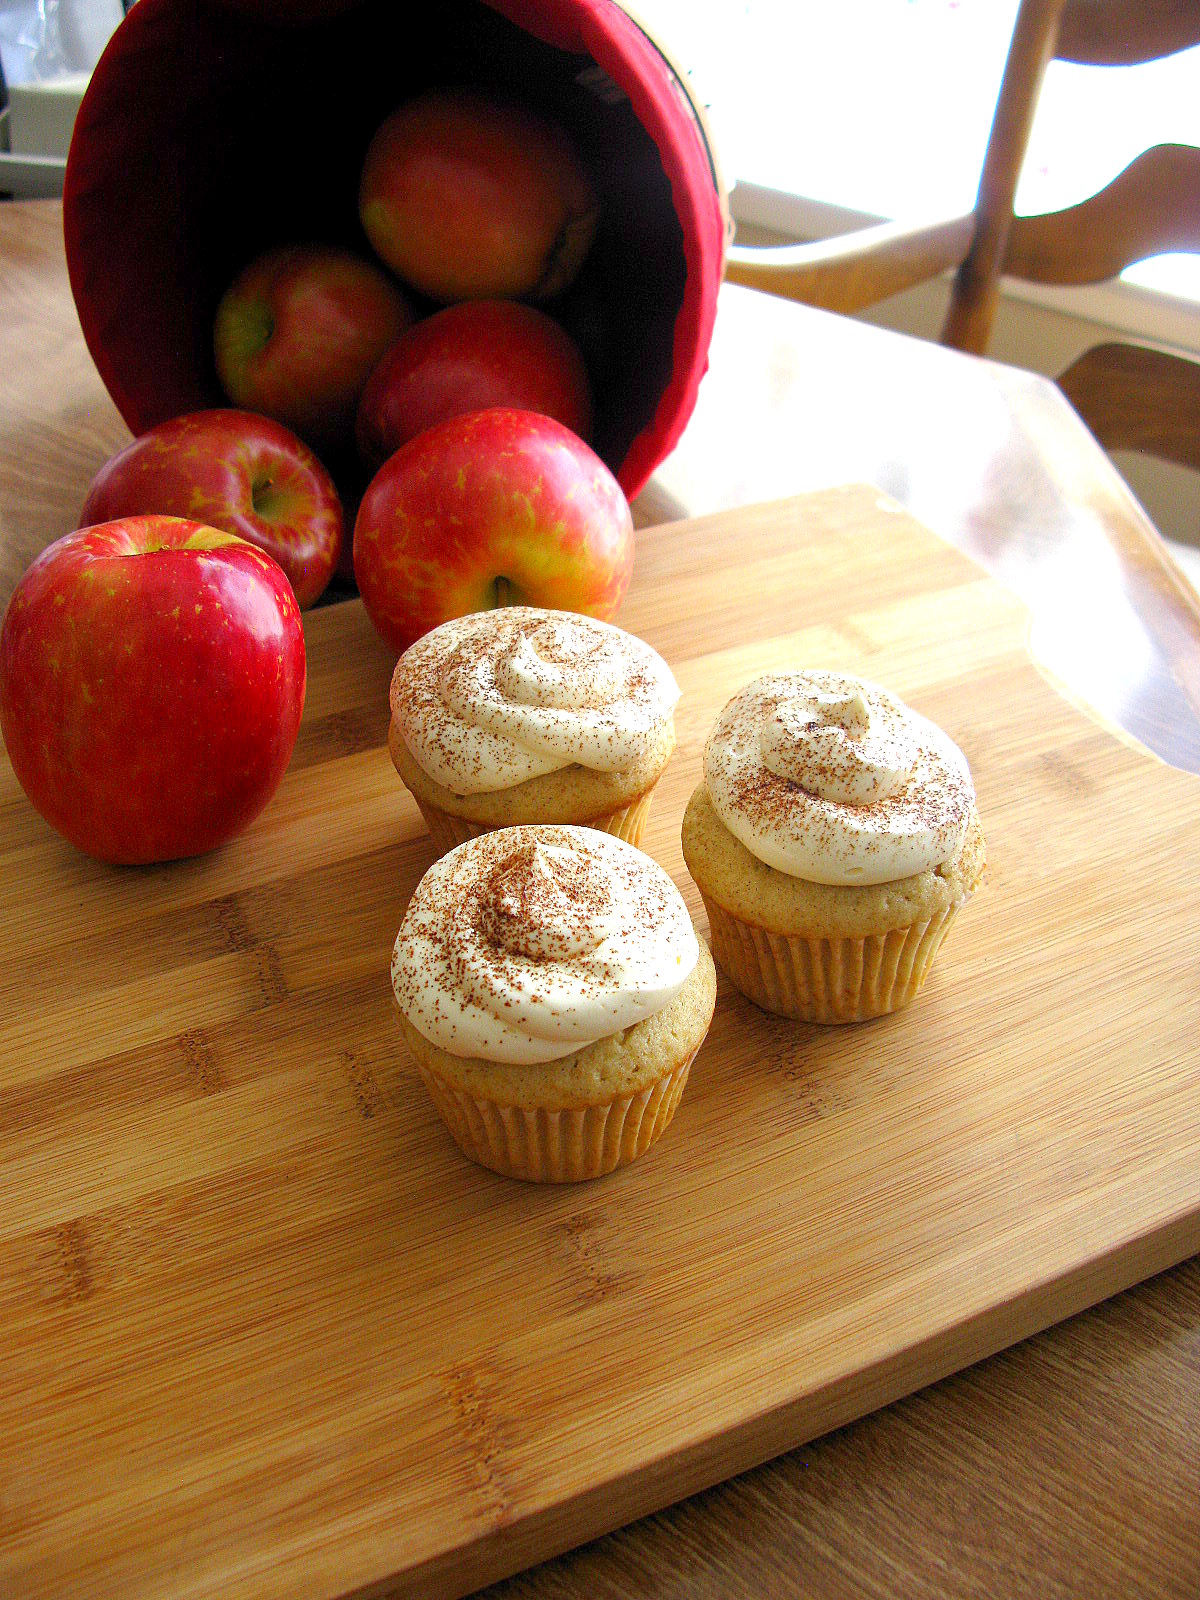
So... I had originally planned to bake off some alcoholic cupcakes first, but when I found out my nephews and niece (who are ages 2, 4, and 5) would be visiting, I decided to change it to a more kid-friendly cupcake... Anyway, for the past month, I've been looking forward to the arrival of autumn and these encompass the season pretty well, if I do say so myself. The cake itself has the sweet cinnamon and apple flavors you'd find in hot apple cider, and the caramel buttercream adds just the right amount of creamy richness. And bonus: your whole house smells like Christmas when you're baking these!
The Ingredients (makes about 2 dozen):
For the cupcakes:
-3 1/2 cups flour
-2 tsp baking powder
-1 tsp ground cinnamon
-1/2 tsp salt
-1 cup unsalted butter, room temperature
-2 cups sugar
-2 tbsp vegetable oil
-4 eggs
-1 tsp vanilla extract
-1 cup unfiltered apple cider
For the caramel sauce (from Ina Garten's recipe; optional, you can use store bought):
For the frosting:-1 cup unsalted butter, softened
-1 cup vegetable shortening
-1 1/2 cups caramel sauce, or to taste
The Directions:
Tip: If you choose to make your own caramel sauce, be sure to make it far enough ahead of time to allow it to cool, which may take up to 4 hours.
1. Preheat the oven to 350 degrees Fahrenheit and line your cupcake pan.
2. Sift the flour, baking powder, cinnamon and salt together and set aside.
3. Beat the butter and sugar together until combined.
4. Add eggs, vanilla and oil one at a time and mix until combined.
5. Stir in the cider.
6. Slowly add the dry mixture to the wet, mixing until just combined.
5. Stir in the cider.
6. Slowly add the dry mixture to the wet, mixing until just combined.
7. Bake for 12 to 15 minutes or until a toothpick in the center comes out clean. Allow to cool completely.
8. Cream the butter and shortening together until combined.
9. Slowly add the caramel sauce, making sure to scrape the bottom of the bowl to keep anything from settling.
10. Consume and enjoy!